Teaching Shoe Tying: Tips and Tricks
This post may contain affiliate links.
Tying shoes is a very complex skill that can be very difficult to learn. There are so many skill areas that are used when tying shoes, that if you have a deficit in one of those skills, then you will have trouble tying shoes. Not only does it require fine motor skills, you need good visual perception, and good visual motor abilities, bimanual hand use, and hand strength.
Here are some tips that can help when teaching tying shoes.
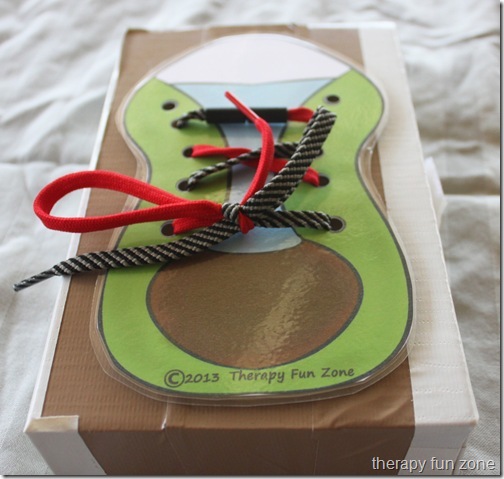
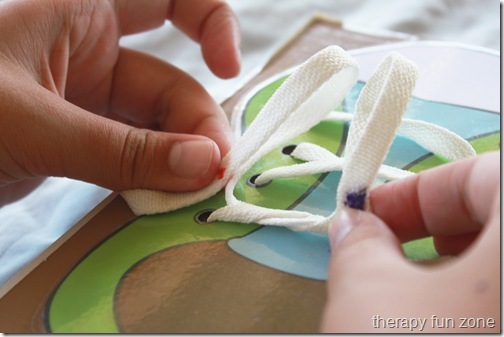
1. Place the shoe or practice board in front of the child on their lap, or a table. It is much harder to start tying when the shoe is on the child’s foot, so starting in an easier position is the first step. Get the practice shoe printable here.
2. Use backward chaining. Except that in shoe tying, the first part is the easiest, so I always teach the child to do the cross and pull it tight. Then you do the loops etc. and have the child pull the loops tight. Then you can have them do a bit more as they become more proficient at each step.
3. Use two color laces. You can cut two laces and tie them together to make two different colors, or you can get the Tying is a Snap two color laces. A book to practice tying is Red Lace, Yellow Lace. Etsy also has some two color laces for sale.
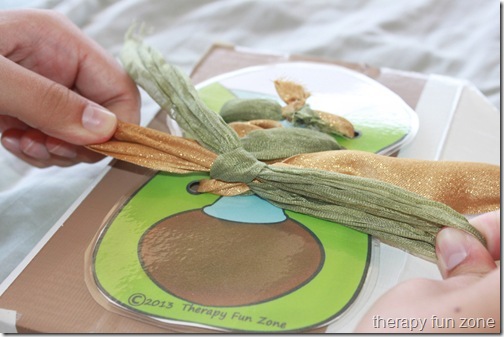
4. Use stiffer laces for practicing. Stiff flat laces are best for practice, and I have had some luck using fancy ribbon with the wire in it. The wire helps hold the loops in position while the student is working on the next step. Pipe cleaners do not work for practice as they are too stiff, and I am not a fan of using wiki stix to practice as they are sticky, and don’t work well. Wiki stix may be good to just practice loops, but not for true tying. You can practice with large things like jump rope tied around the child’s thigh.
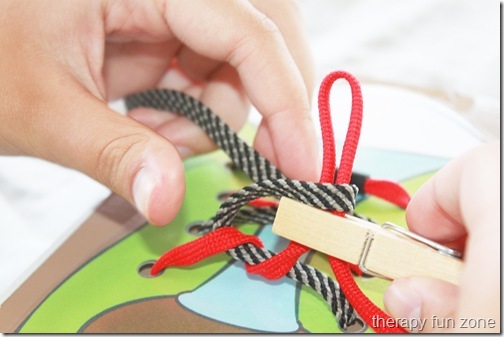
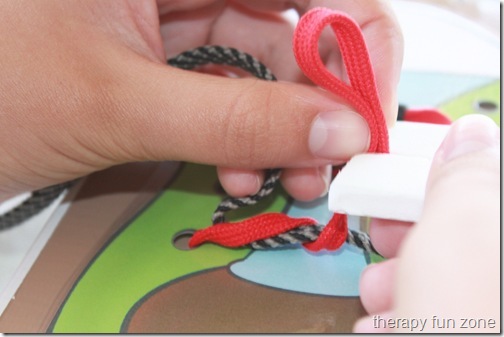
5. Use a tool to help hold the loops. The Loopers Laces have Velcro spots on them to hold the loops in place. There is a product called loopeez that is a foam piece with two holes in it to hold the laces in place. I find that a clothespin can work if the child is able to get the clothespin onto the lace in order to hold the loop in place. Of course we want the student to hold the loop himself, but as they are learning, if they use a tool, then that makes it easier until they master that part and can add the other difficult areas later. You can also make a slit in a foam piece and use it to hold the loop in place while you manipulate the other loop.
6. Make sure the laces are long enough. There are so many times that I have been working with kids on their shoes, and their shoe laces are so short that I can barely tie them. When kids are learning to tie their shoes, they need enough lace to get a good sized loop for the bow. If it is too short, you have to be precise in the size, so there is not as much room for success.
7. Try a different technique. There are two main ways of tying shoes. The one loop method, where you make a loop and then circle the lace around that loop and pass it through the hole to make the second loop. Then there is the two loop method, also known as the bunny ears method. This one makes two loops and then ties the two loops in a knot. I usually try to teach the first method first as there are less strings to hold onto at the same time. I will then try the second method to see if it is easier for the child to do. I have my own personal third method/last resort method. I have called it the PAT (push and tie)method. I have the kids tie a second (loose) knot in their laces. Then they take the end of their lace, and thread it back through the knot where the lace just came out of to make the loop. It’s a weird technique, and you can see it in the video below.
8. Put dots on the laces to show where to hold. The Loopers Laces have Velcro, but if you aren’t using them, you can put your own Velcro onto laces. You can also put dots on the laces with a sharpie to give kids a visual of where the laces need to be held. Anne Zachry has a video of how she does this technique. There is also a product out there called Tie Z’s that are snaps that you attach to a shoe lace to act as the sharpie dots.
9. If shoe tying is just not happening, you can use elastic laces or Velcro. I actually have put elastic laces on my shoes because I take them off frequently throughout the day, and it is really nice to just be able to slip them on without tying.



Saw you at I Can Teach My Child linky party and am SO GLAD that I clicked your link. These are fantastic tricks that I’ve never seen or heard before. Usually the only shoe tying idea out there is some poem. But I love the dots on where to hold, the printable shoe, using two color laces…all such great info. Thanks so much!
I needed this my 7 yr old has yet to be able to tie his own shoes and its frustrating teaching him his problem is doing the loop tie and making it tight. Thank you so much for this hopefully we can get him taught before he starts school back. Stopping over from SITS
Thank you so much for sharing! I’ve pinned this article so when we get later in the year and I have to teach my kiddos how to tie their shoes I can look back and remember all of these great ideas to help them out!
Feel free to check out our kid’s activities at http://everystarisdifferent.blogspot.com!
I have to teach my kiddos how to tie their shoes I can look back and remember all of these great ideas to help them out!