Easy Clothespin Board made with Hot glue and sheet protector
This post may contain affiliate links.
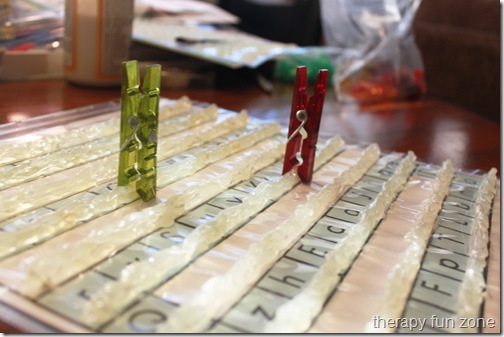
This week as I was driving to work, I came up with a way to make the clothespin frame for the games using much more accessible supplies. I had thought of this one before, but thought that it might not work, and might be too difficult, but I was wrong. It works well, and it is much easier to make than the board made from plastic or foam core. This one is simpler, and the materials needed are easy to find (you might have them sitting around your house like I did).
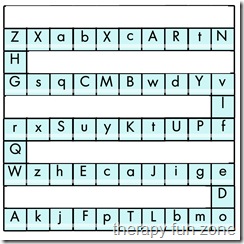
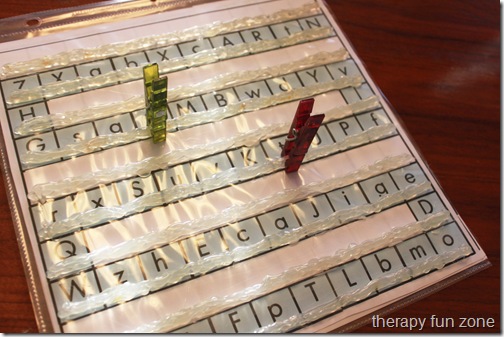
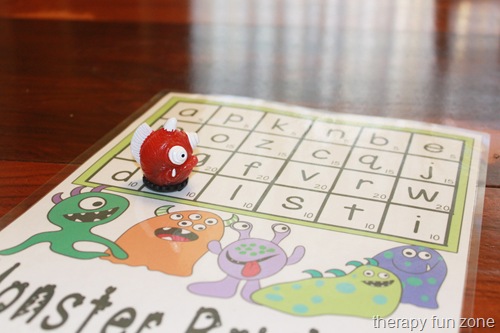
I adjusted all of the games so that the writing is a little higher so you can place the hot glue line lower in the box. This game is one that I “borrowed” from Karen at (B)e(LO)n(G) OT, and has a path of letters. I just call it the letter game. You roll the dice and move your clothespin the requisite number of spaces. Then depending on the kid(s), I have them either write the letter, write a word that starts with the letter, or write a sentence that has a main word in it that starts with the letter. This week I had some kids try to write the biggest word they could think of that started with the letter they landed on. At the end of the session, we counted up the number of letters that each student had used, and the one with the most letters won a prize. Talk about motivation.
To Make the board:
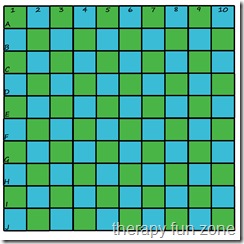
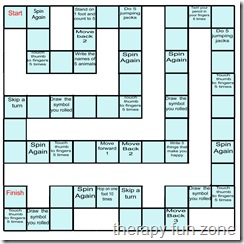
You need to print out one of the clothes pin games. The free printables are the blank game board to play 4 in a row pdf, the letter game pdf, or the dreidel game pdf. You print out the 4 pages of each game board and then trim them and tape them together to make the full size 12×12 game board. They are made in this size because when I made them smaller, it was visually confusing when the clothespins were on the board. It was hard to tell which square you were on and they were all scrunched up together. The bigger size is much easier to play.
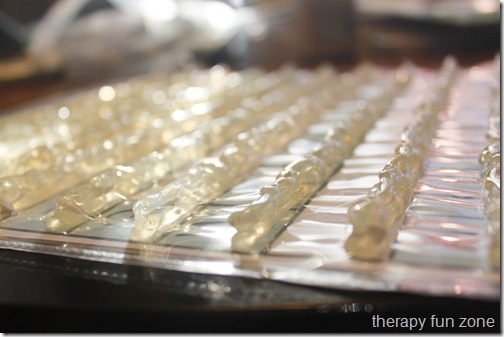
Once you have your game board completed (I usually tape it to a piece of scrapbook cardstock too), Then you slide it into a 12×12 size scrapbook sheet protector. You want to have the extra plastic that is used to put the sheet protector into an album at the top. The opening can be on the right or left (I am right handed and find it easier inserting the boards when the opening is on the right). Then you can put a strip of hot glue in the lower section of each row. It should be above the line, but in the lower area. Once the first layer of hot glue has cooled, you can place another layer. It takes 3-4 layers to get it tall enough for the clothespins to clip onto.
The layers of glue can be sticky when the clothespins are put on them. I put some mod podge over the glue layers, and it made it smooth and almost too shiny. Then I put on one more layer of glue because it needed it. There are more games that I made which I am selling as a digital download. They are Ice Cream Sorry, checkers and chess, Slides and Ladders, 1st and 2nd grade sight word matching, shape and color bingo.
Materials:
- Scrapbook page protectors (size 12×12)
- Hot glue gun
- Clothespin games downloads (see above)
- Dice
Skills:
- Hand and finger strengthening
- Turn taking
- Motor planning
Save


Like this idea better – does seem to use more readily available materials. I have made small clothes pin games using just cardstock and folding it a certain way so that the clothes pin can connect vertically. I will have to post it on the blog one of these days. Mine are much smaller than yours though.
Can you get colored hot glue? Wonder if that would help the kids to see the area better to clip the clothes pin.
I don’t know if hot glue comes in colors, but I think with the colors of the board in the background, it would make it too visually distracting.