Perler Beads
This post may contain affiliate links.
Perler beads are tiny plastic beads that you place on little spikes on a board in order to make a design. They are quite small, so they require precision and care to get them placed on the design board.
Once the design is finished, you then put parchment baking paper over the design and iron over the beads. This melts the top of the beads and fuses them together.
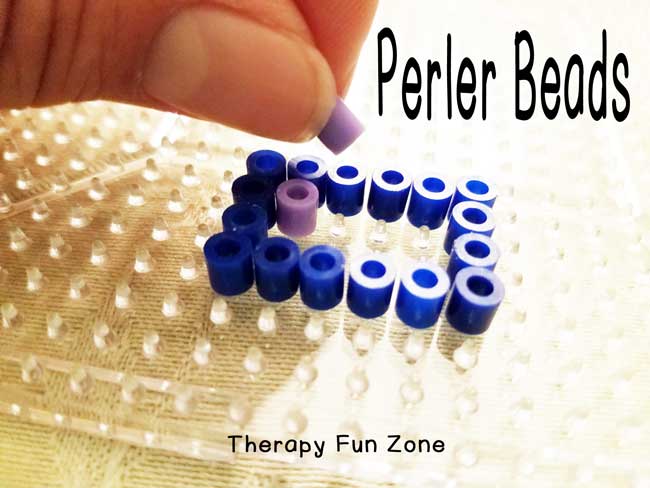
I have used perler beads (affiliate link for convenience) a lot in the clinic, but have not used them in schools because I am not going to carry a hot iron around with me. To get around the hot iron problem, you could stick your beads together using duck tape. To get a good connection of the beads, cut the duck tape a bit bigger than your project so that the tape goes slightly up the sides of the project.
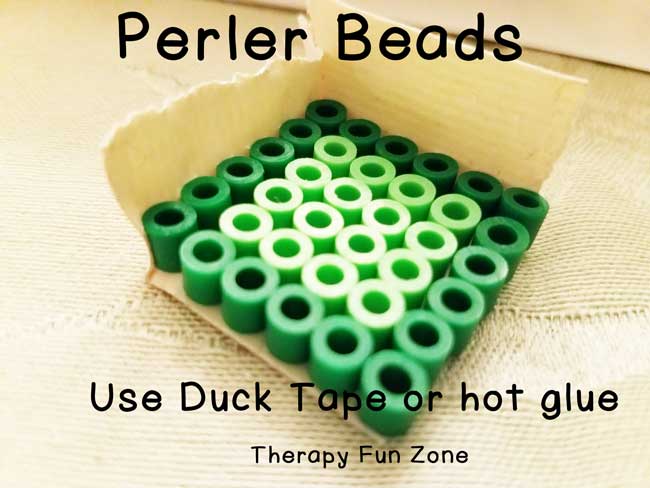
You could also use hot glue to attach the back of the project. In order to not glue the project to the board, I would put masking tape on the top of the finished project, then pick up the whole project, sit it on the table with the masking tape side down. Then I would hot glue the top of the project and peel the masking tape off when the hot glue is cool.
It may help to store your hot glue gun in a silicone oven mitt for travel.
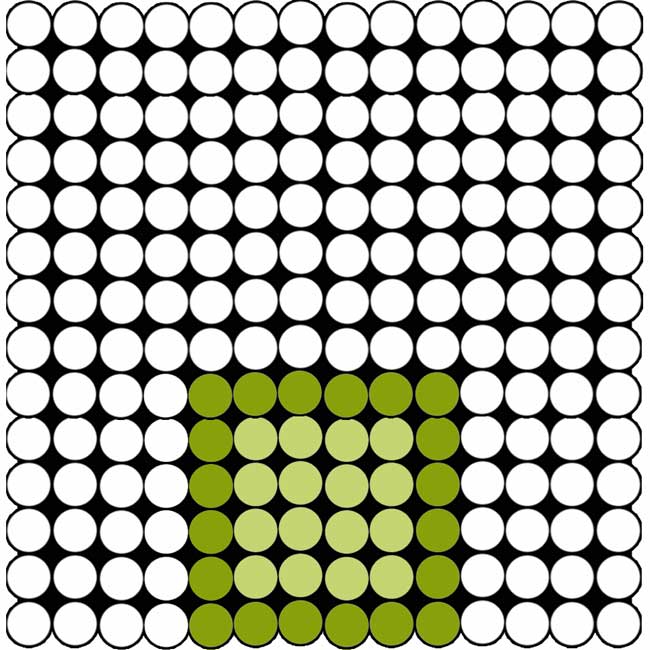
Many of the patterns for the perler beads are too complex for a short session, so I just have the kids try to replicate shapes such as a square, rectangle, triangle, etc. Round shapes are harder due to the nature of the beads and grid.
I made a set of blank pattern grids for the perler beads for the kids to create their own pattern by coloring in the circles, and then they can try to duplicate it with the beads. You can find the free download of the blank patterns here.
Do you use perler beads much?




I use Perler beads at least with one session a month with my students. I may find a pattern on the internet for a holiday design or I have the kids make a favorite character. I carry a small crafters iron in my bag with the parchment paper to fuse the beads together. I also attach a magnet to the back so the kids can place it on the refrigerator at home. I’ve also bought key chains attachments so that it can become a key chain to give to a parent. The more I did it the better students did with their fine motor skills. I also bought small Perler tongs to help some students to be sucessful.
How do you travel with a hot iron. That seems like it would be difficult. And if the project isn’t done in the allotted time, what do you do with it?
It is a very small crafters iron that I use, and I would put it in my bag. If time was running out I would let the student work on the writing lesson and I would finish the project. If the kids are older, I would show them how to use the iron and let them do it with supervision. Once the iron was unplugged, it would be completely cooled in less than 5 minutes.