Using Gel Clings in Therapy
This post may contain affiliate links.
We have a guest post written by Kristi Rapp, COTA.
When it comes to finding items to work with that are therapeutic, budget friendly, and versatile it can sometimes be a challenge to find just the right item to use. I have found a hidden gem with Gel Clings. Yes, I said gel clings. Those wiggly, stretchy, colorful clings that are often found in $1 bin and come in a variety of themes. How are those therapeutic and what makes them versatile?
I’ve used gel clings to work on skills such as bilateral integration, upper extremity strengthening, dexterity, fine motor, in hand manipulation, ROM, postural control, and the list goes on. So one child I have used Gel Clings activies with is a child with Cerebral Palsy. I wanted to work on upper body dressing, postural control, and endurance, both sitting and standing. During this activity the child sat directly in front of a full length mirror. I first wanted to engage his upper extremities in a bilateral activity to increase strength, dexterity, and ROM to facilitate upper body dressing. He stabilized the gel sheet with one hand while the other hand pulled off each gel. Once removed, he held up the clings with a straight arm and placed it on the mirror. To grade it harder we increased the distance, direction (cross midline), and height of placement a well as doing a few clings while standing. When we finished putting the clings on, we switched to removing the clings, and increased the length of time that the child had to remain standing while carefully pulling the clings off one at a time alternating between left and right hands. Because the activity was graded appropriately for his skill level it proved to be highly motivating and he wanted to do it again and again.
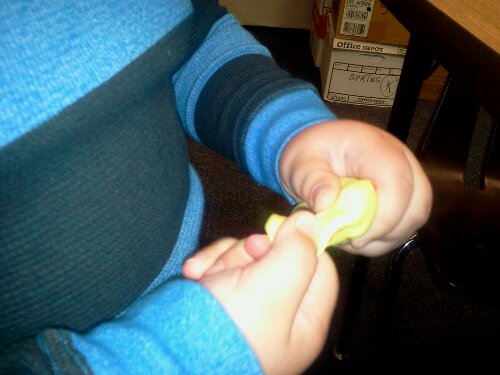
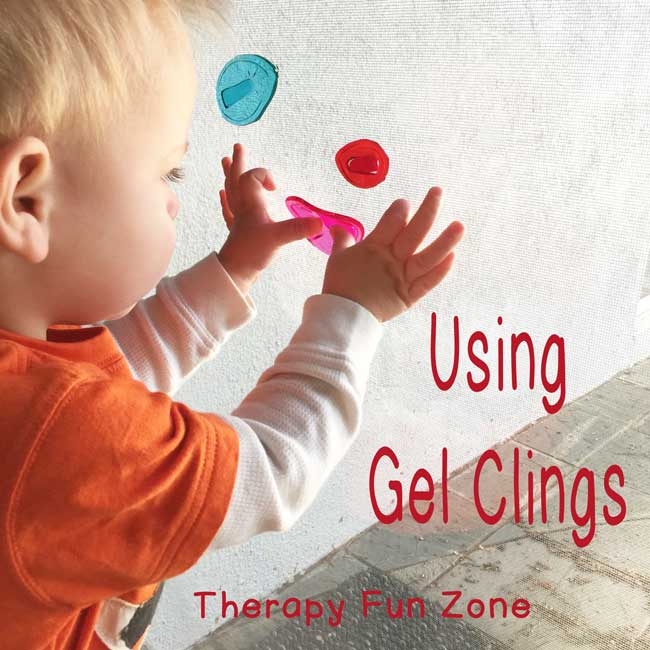
But there is so much more versatility. It can also be graded for much younger kids, as young as 18 months, as long as you use proper safety guidelines. When working with younger kids, you need to use clings that are shaped simply so the shape holds easier and large enough for little hands to pull off the plastic backing. With the young child, the focus was on bilateral integration, problem solving, tactile tolerance and dexterity. He successfully problem solved how to remove the pieces without verbal, visual or tactile cues and required only one demonstration (visual cue) before he placed them on the window independently. The tactile piece was interesting as he hesitated at first but then started smiling as he made the pieces jiggle. The fun distracted him from the foreign texture and increased his willingness to engage.
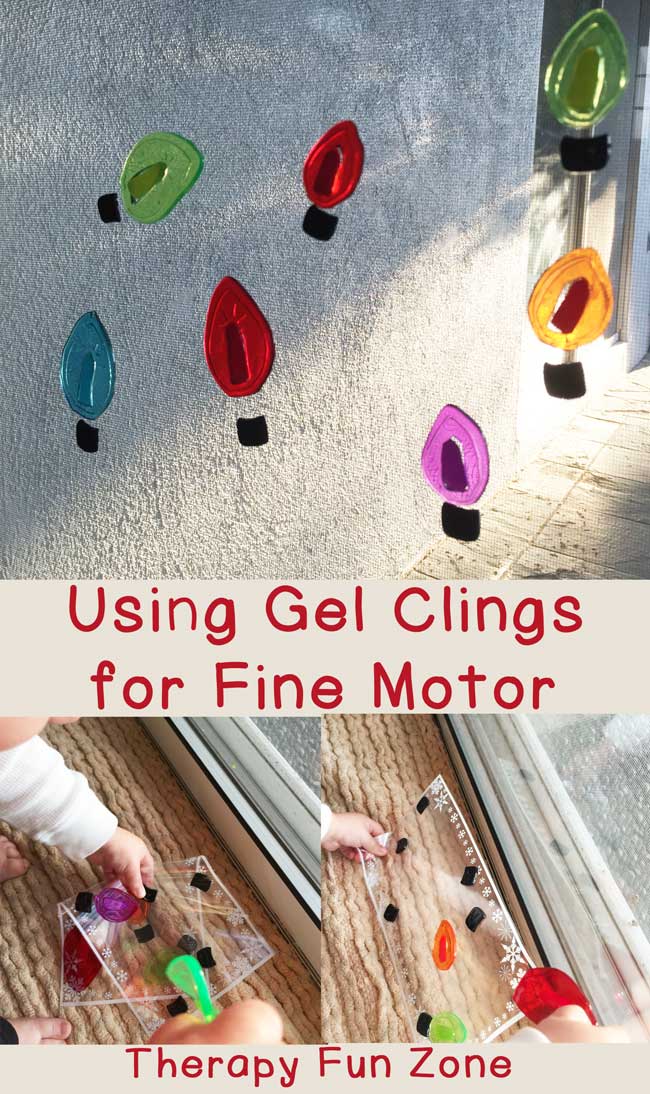
There are other options to using gel clings. Some people prefer clings made from vinyl, and those are great too! I found them more difficult for initially peeling apart from the backing because they require a higher functioning level of finger dexterity. Depending on the size, they can be harder to place on the wall without making wrinkles and having the edges stick to themselves. If you need to increase the difficulty level, this is a great way to do it! When working with clings, the mess isn’t permanent and it creates a great reminder of the child’s success. Once again, grade it harder with smaller pieces, grade it easier with larger simple shapes. Pull in ROM by changing up the activity to reach different latitudes and heights. Have them tell a story with they pieces to assist with ideation and higher executive functioning skills. The options are endless!
Whatever you decide to use, these tools are great. They are light-weight and if they get dirty they are easily washable, reusable, and inexpensive. They come in different themes that can be used for a variety of goals at different skills levels. My favorite part is seeing the kids’ faces light up in delight when they successfully complete a picture that they can stand back and look at with pride, knowing they created it on their own. It is FUN and FUNCTIONAL!


